Three Tips for Better Mountain Bike Photography

Let’s face it- good mountain bike photography is really hard. I’ll be the first to admit it. I’ve been shooting action sports (mainly skiing) and landscape photography for years, and mountain biking is the hardest to capture well. Sure, you can get a boring picture of a rider in a vast mountain landscape, but those get old after a few dozen.
Why is mountain bike photography so difficult? Personally, I think it’s difficult to convey action to the viewer. I can go out with my friends or customers to shoot a rippin’ downhill section, and when I shoot at 1/2000th of a second, 25 mph of rip-roarin’ downhill action suddenly looks like they’re barely moving. Unless there’s dirt kicking up or branches flying, there’s just nothing to convey the action like there is on a powder day of ski photography.
Over the last two years, I’ve become more serious about mountain bike photography, and I’ve started to slowly learn there’s a basic formula to produce good images. All of the images on this site were taken by me, of my friends, customers, and colleagues. I’ve come to enjoy photographing mountain biking even more than skiing, and I think it’s due to the challenge of producing great images. Here are a few basic things I’ve learned that will help you start taking better mountain bike shots:
Convey Action
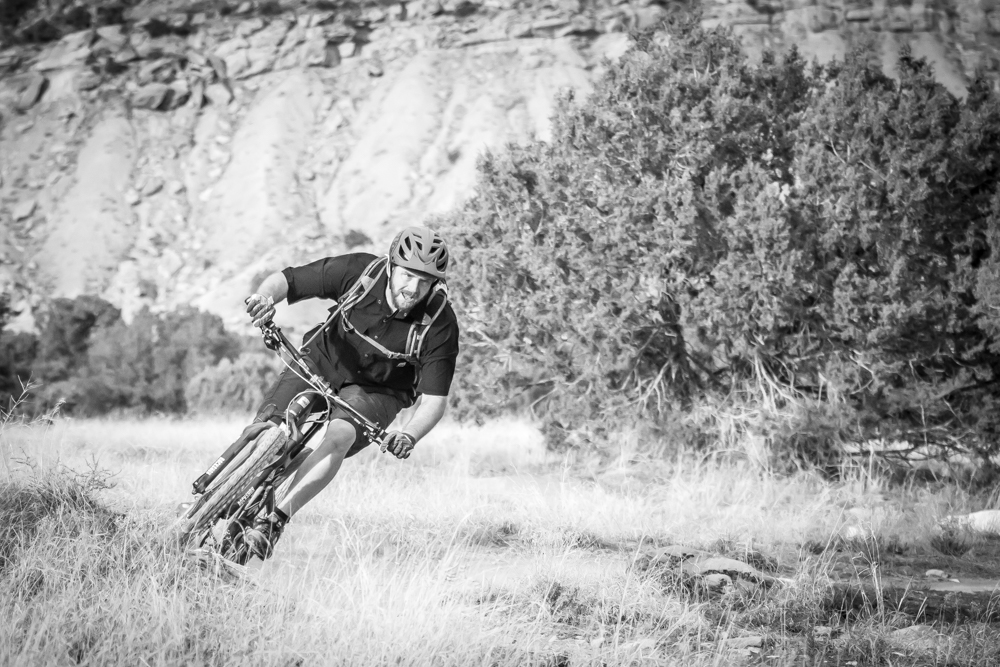
Like I mentioned above, it’s very difficult to convey action with mountain biking photography when you’re forced to shoot at such fast shutter speeds. Ideally, you want to be at 1/500s or faster to make sure you have a crisply focused image… and that will stop action dead in its tracks if not properly set up. When shooting action, make sure you have movement in the image that shows the rider is moving quickly: things like wind, body action, or dirt/dust in the air always help. Here are a few examples that show this quite clearly:


Sense of Place
Sometimes, it really is just about the landscape; the rider becomes an element of the image to convey a sense of grandeur and scale. This is typically the easiest way to shoot mountain biking photography, but remember it’s important to mix things up and keep these to a minimum. The other item to consider is to place the rider strategically in the image, as to give proper scale to the landscape he’s riding in or through.


Mix Your Perspectives
As one of my main rules of photography- especially when shooting for clients- I always try to keep a constant mix of perspectives to keep things interesting, and to keep the viewer “on their toes”. This is especially important with mountain bike photography, as the perspective can make or break a shot. The easiest way to compose images in your head while riding is to picture them on the climbs, because you’re essentially looking at the scene right in front of you without the rider. Use different objects in the foreground for interesting bokeh, and zoom in to show emotion: pain and elation are pretty common on most rides!


