3-day Mountain Biking Trip to Moab: A Guide to Maximizing Pleasure
For anyone that’s been to Moab– regardless of the purpose- you know there’s an almost-endless supply of things to do. When it comes to mountain biking, you have enough trails within 20 minutes of town to keep you busy for weeks, if not years. Last month, we had a 3-day trip to Moab to have some fun before the weather got cold and the snow started flying, so I wanted to provide some more general information for those who are looking to max out your enjoyment time while not wearing yourself out completely.
For most three-day trips, the best plan of attack is to get a 3-4 hour ride in on Day One (after arriving around lunchtime), ride all day on Day Two, and then get in a good ride before leaving town on Day Three. And that’s exactly what we did. Because we stopped to take pictures frequently, the rides took a little longer than expected, but who’s complaining when you’re on your mountain bike in Moab as the sun sets? The pictures below are from the first half of our trip, part 2 will be coming in just a couple of days.
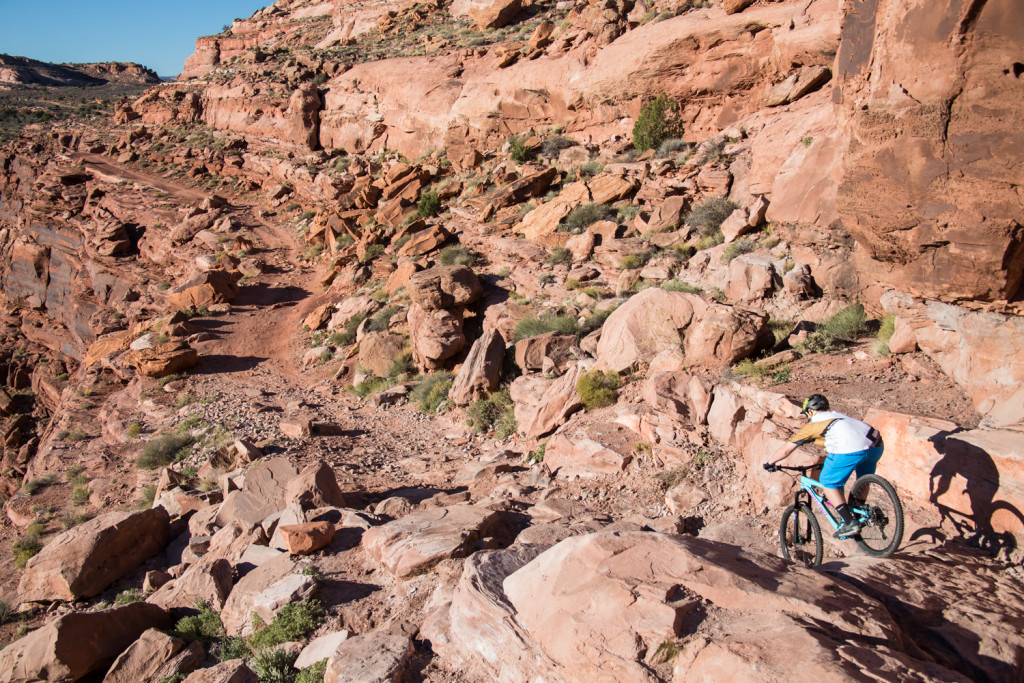
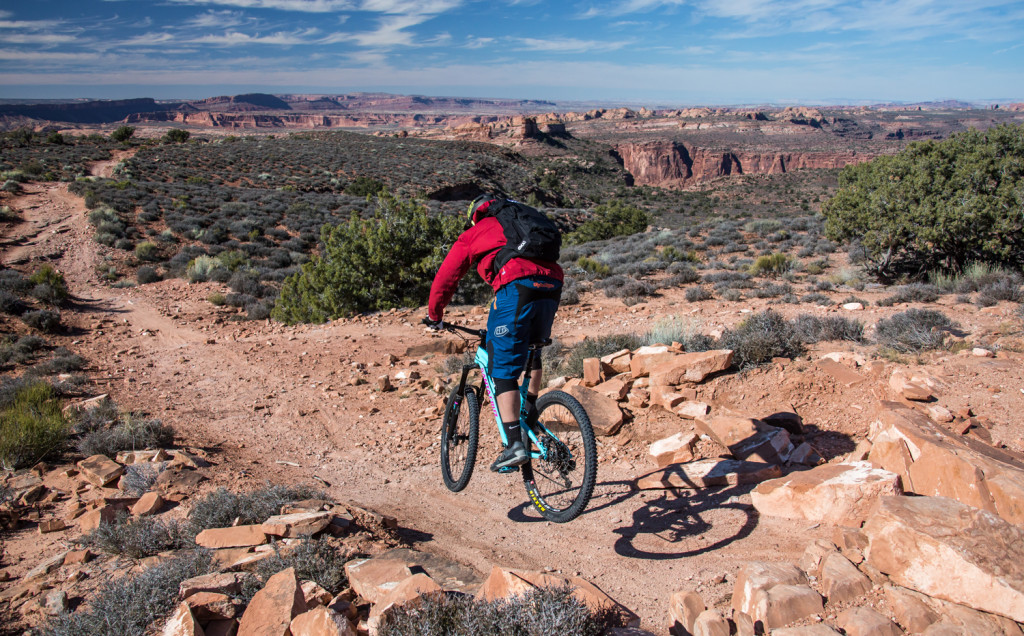
Probably my favorite trail system in Moab, Amasa Back offers something for everyone. The addition of the Hymasa Trail has given mountain bikers an easier, separate way to climb to the top (to the junction with Captain Ahab), and it’s a very well-built trail. For our ride on this day, we did: Hymasa – Cliffhanger – Pothole Arch – Cliffhanger- Captain Ahab – Amasa Back.
It’s sometimes difficult to jump out of the car, gear up, and start climbing… but the scenery in Moab makes things much easier. Plus, the climbs are never all that steep.
As a photographer, I’m always stopping to set up fun and interesting shots. The Hymasa Trail offers plenty of opportunities.

A wise man once said, “You have to get up to get down.” I tend to agree.
Just about everywhere you ride in Moab, the views are spectacular. The Amasa Back trail system is near the top of that list.
Once you top out on Hymasa (near the junction of Ahab), I always like to take a right onto Cliffhanger. Mostly because the trail is slightly technical but undulating in nature, but also because once in a while you get to see a 4×4 drive over some gnarly rocks. No luck this time, but it was still a great side trip; yes, there’s an actual trail in the picture below:
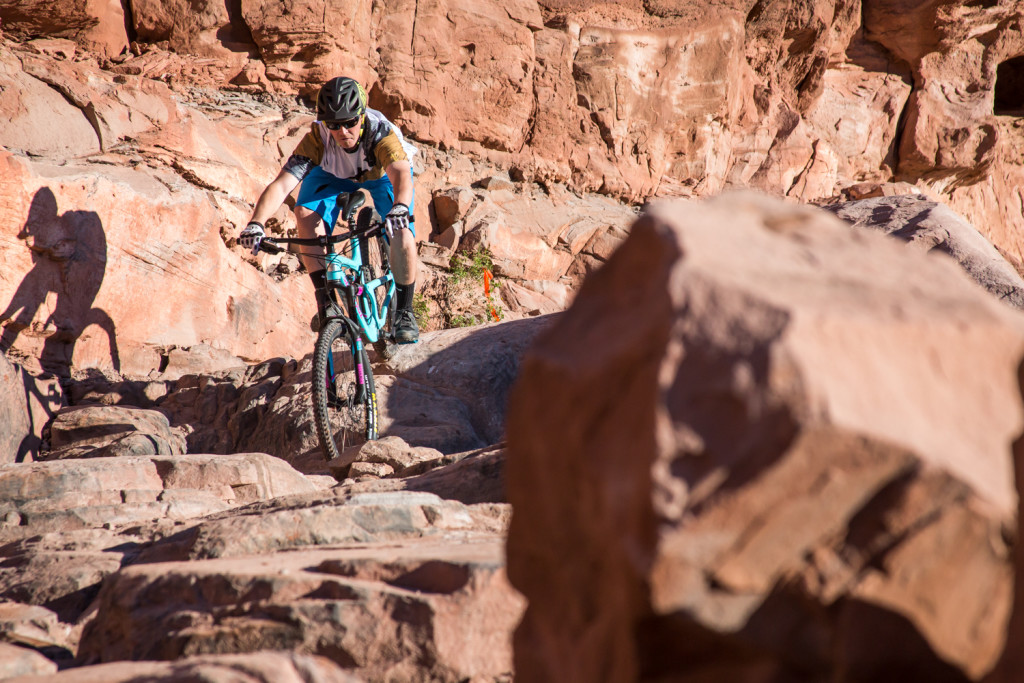
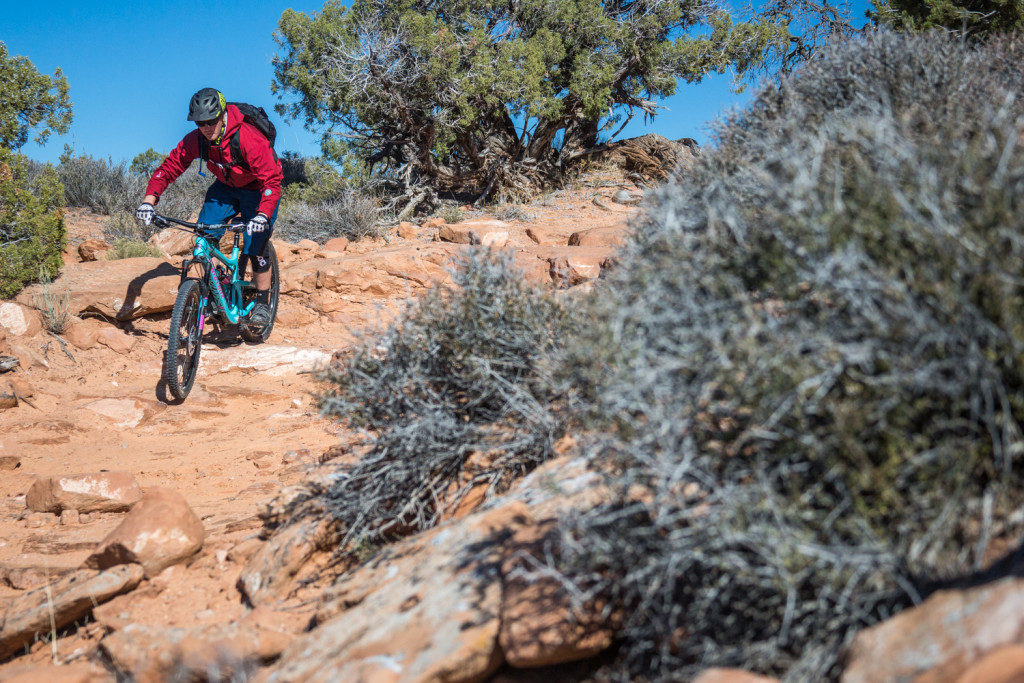
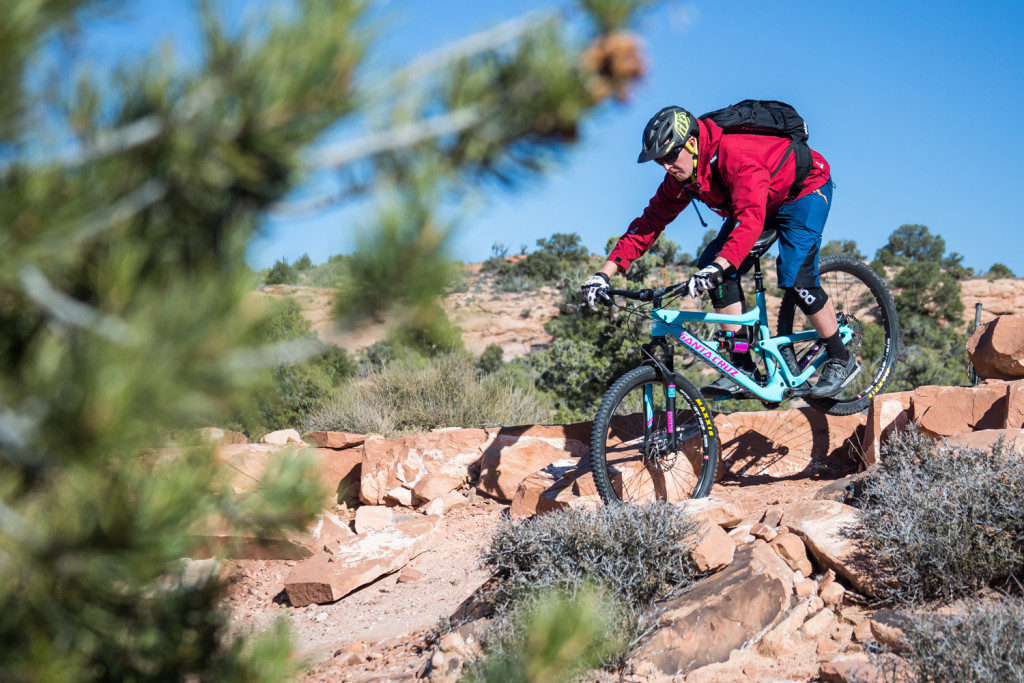
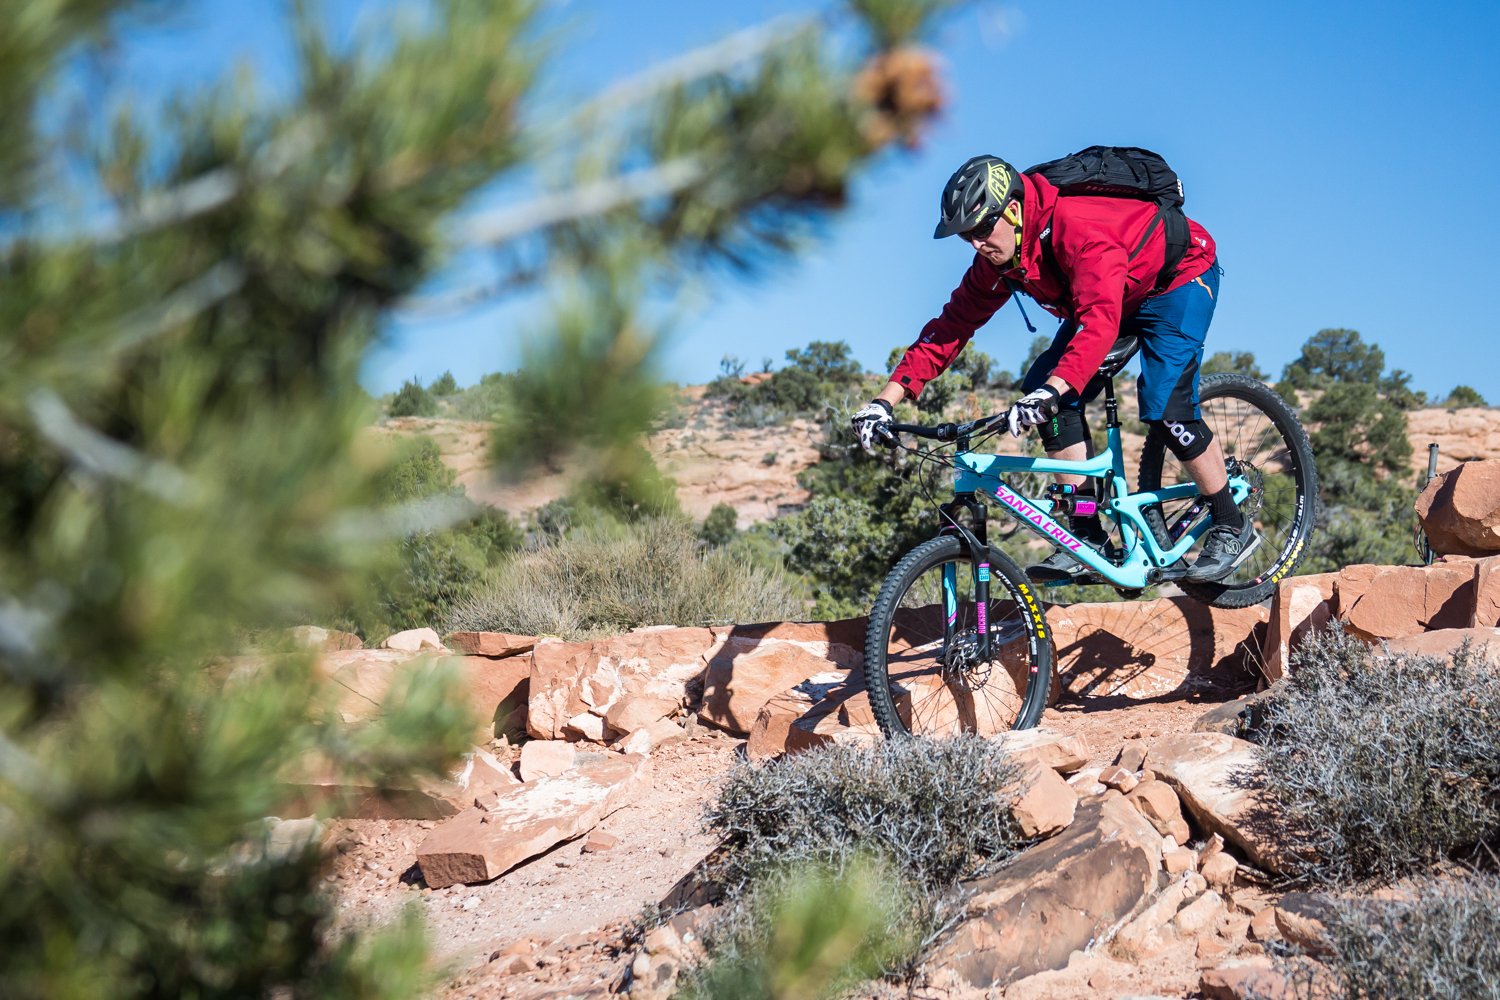
Playing with a shallow depth-of-field is always fun and interesting as a photographer, and it allows you to isolate your subject.
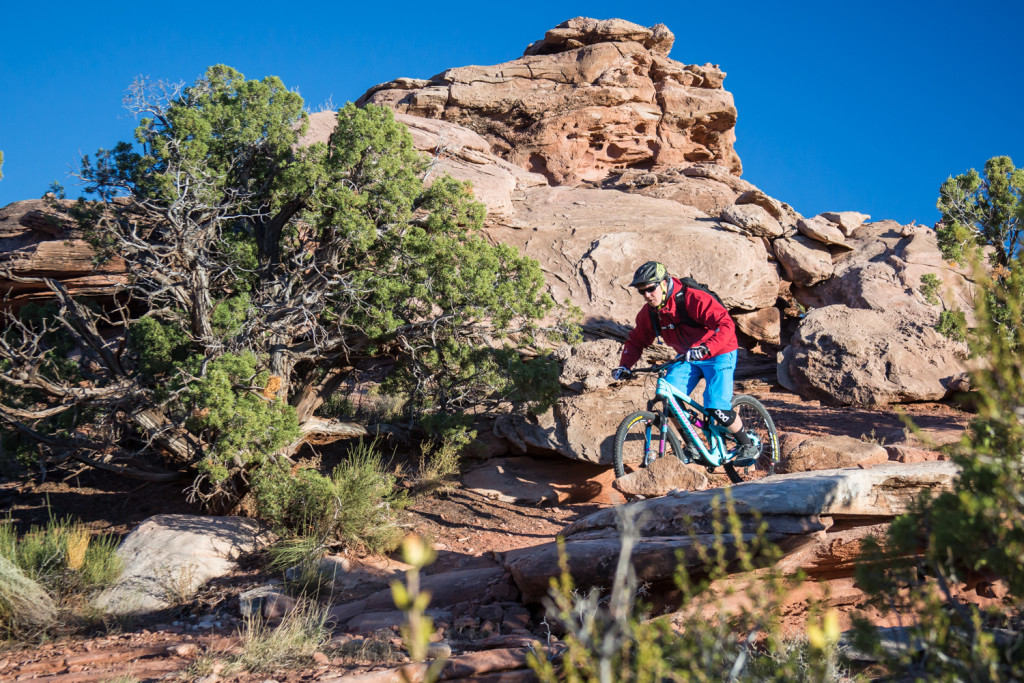
The lower section of Captain Ahab is a blast, and after the shot below we didn’t stop much for pictures. But trust us, it’s a must-ride.
On the second day, the best plan of attack (for us, anyways) is to do a long’ish ride in the morning, followed by a lunch break for a few hours, and then get in a shorter, scenic ride in the evening before the sun sets…. and that’s exactly what we did. The plan for the morning was to ride Porcupine Rim, one of the Moab classics. We got a ride/shuttle to the junction of Porcupine Rim and Sand Flats Road, and started the climb from there. It’s a good warm-up, especially when the temps are hovering around freezing. The town of Moab sits a couple thousand feet below (and behind) you as you climb up the double-track.
Once you top out where the trail hits the Whole Enchilada route, you head north and look down into Arches National Park.
The trails are virtually empty in November- especially on a Sunday- so we stopped frequently to take pictures and set up interesting shots.
Catching a little air with Arches NP in the background. This view is tough to beat!
Porcupine Rim is famous for its ledges and small drops:
To a photographer, these are what’s known as “hero clouds”…. clouds so photogenic that it’s hard to take a bad picture of them!
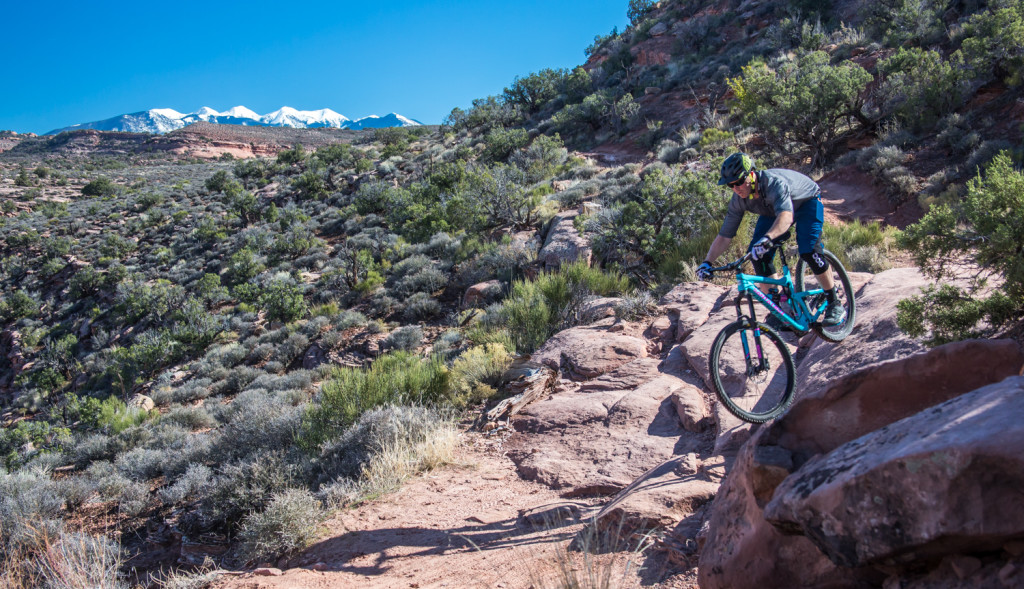
The lower singletrack portion of Porcupine Rim is one of our favorite sections of trail, anywhere in the US. How great is short-sleeve riding in November with the snow-capped La Sal Mountains in the distance?
Finally, as you round the last corner and come out above the Colorado River, the world opens up in front of you. Pictures don’t do justice to how incredible this trail truly is. Check back in a couple of days for Part Two of the Trip: Slickrock at Sunset and Navajo Rocks!


